This guide will cover a basic step by step of scanning with HP Smart and will assume you already have an HP account you are logged into.
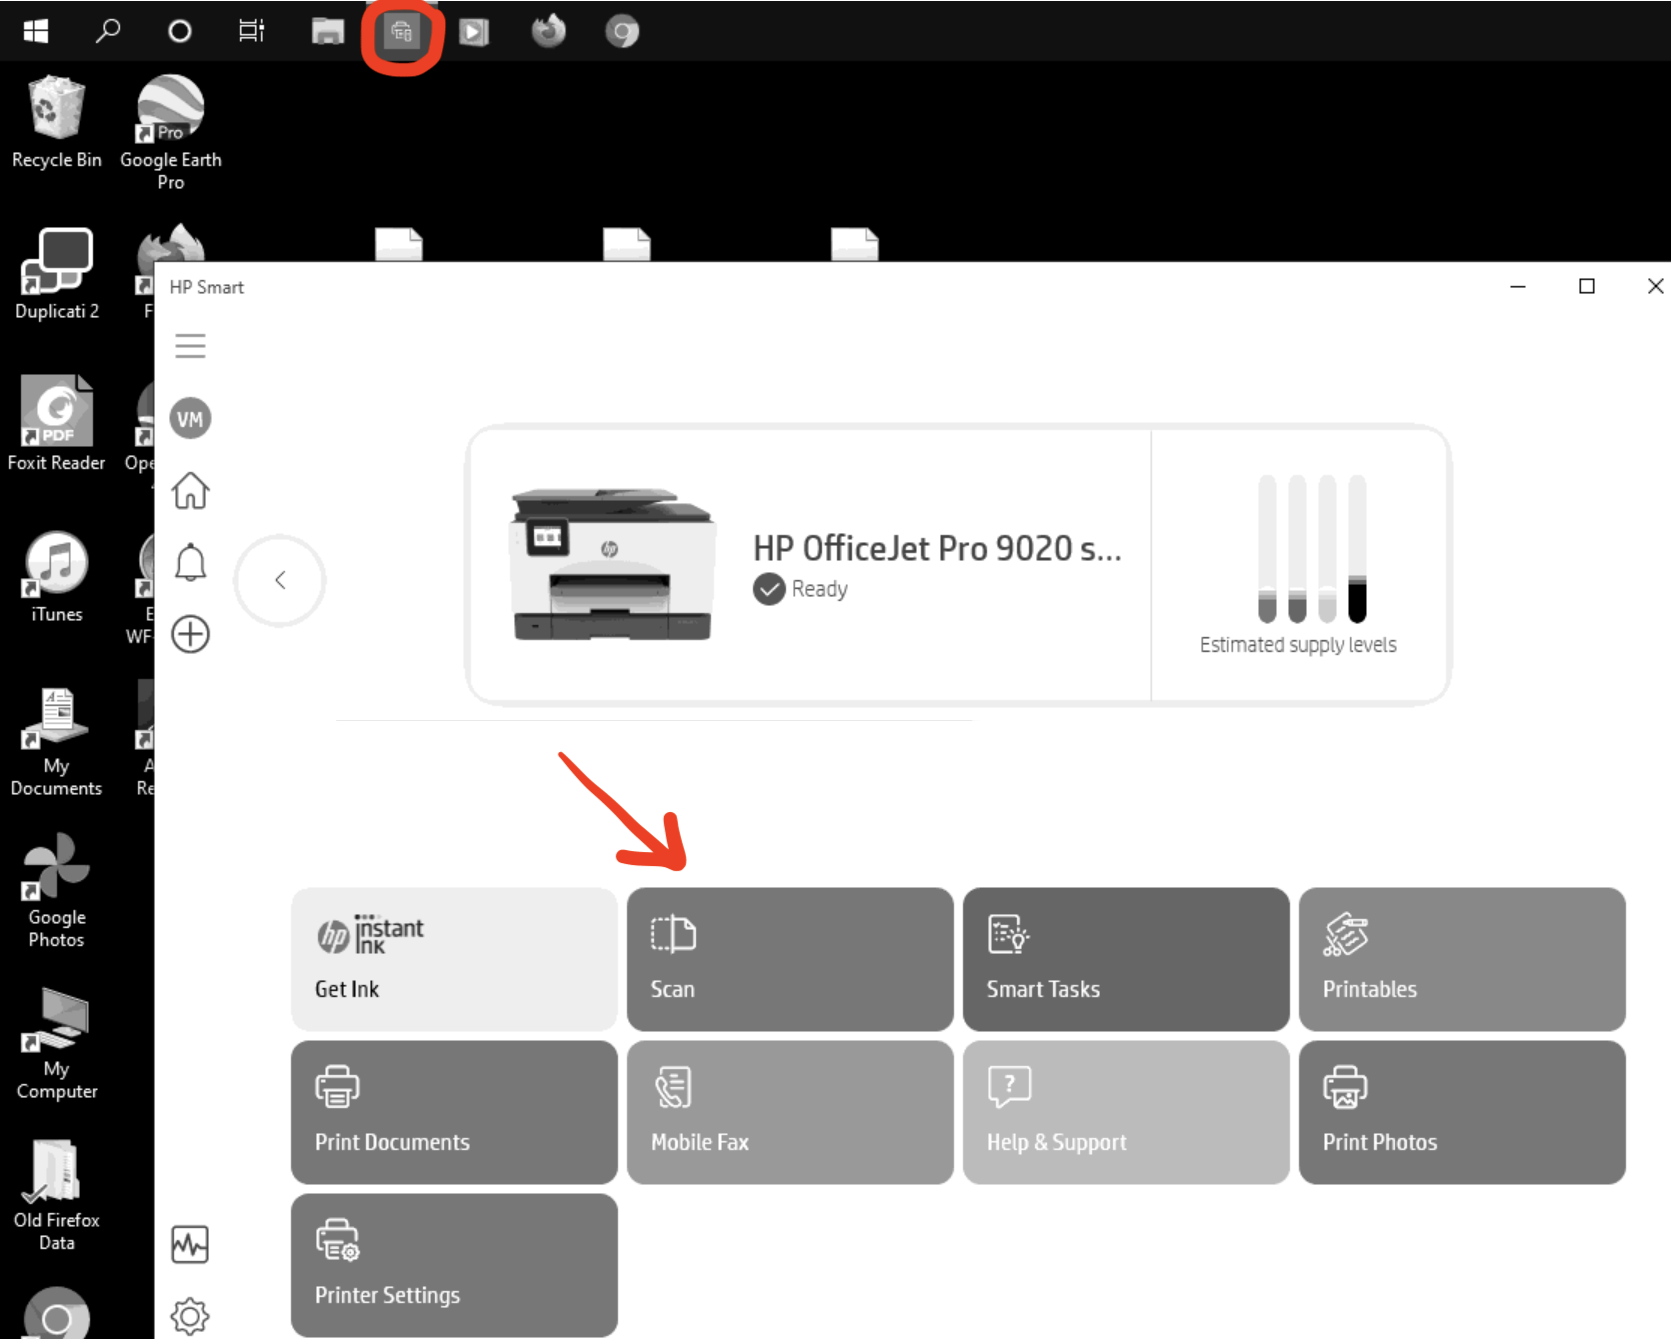
- Click the start menu and type HP, then click HP Smart. Or if you have it pinned on your taskbar, click the blue HP Smart icon.
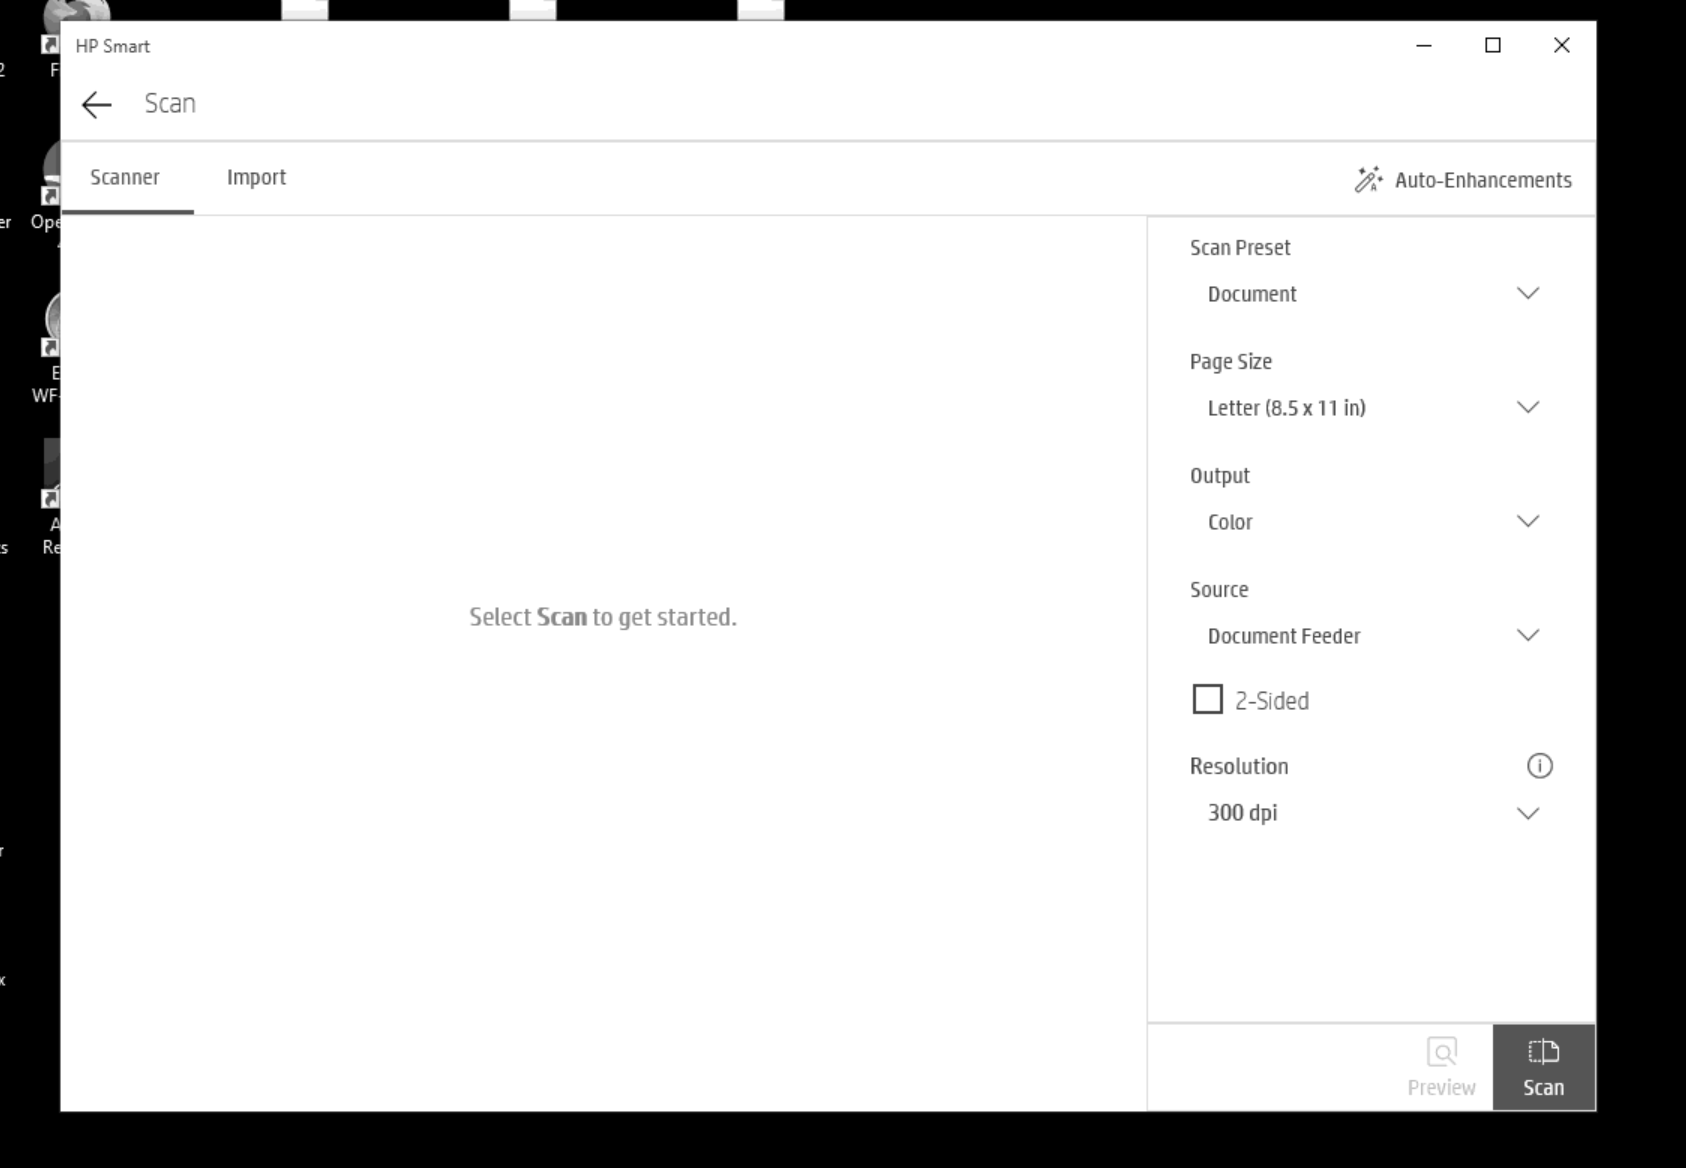
- Click Scan in the bottom right to initiate the scanning.
- Click Save in the bottom right after Scanning, then Name the file, pick a spot to save it. Then click save again. Don’t forget to make note of where you saved it.
- Once you save it you can then attach it to your email. Click here for that guide.